Friday, February 9, 2007

FEA addition

In the program the color scale being used is pink where there is maximum compression, and blue where there is maximum pull. But it's a bit difficult to get a clear picture of the forces involved because of the scaling. I just found a menu where you can change the colors to make it a bit easier to see the forces. Green shows the lowest forces in the tubes, when red is the highest.

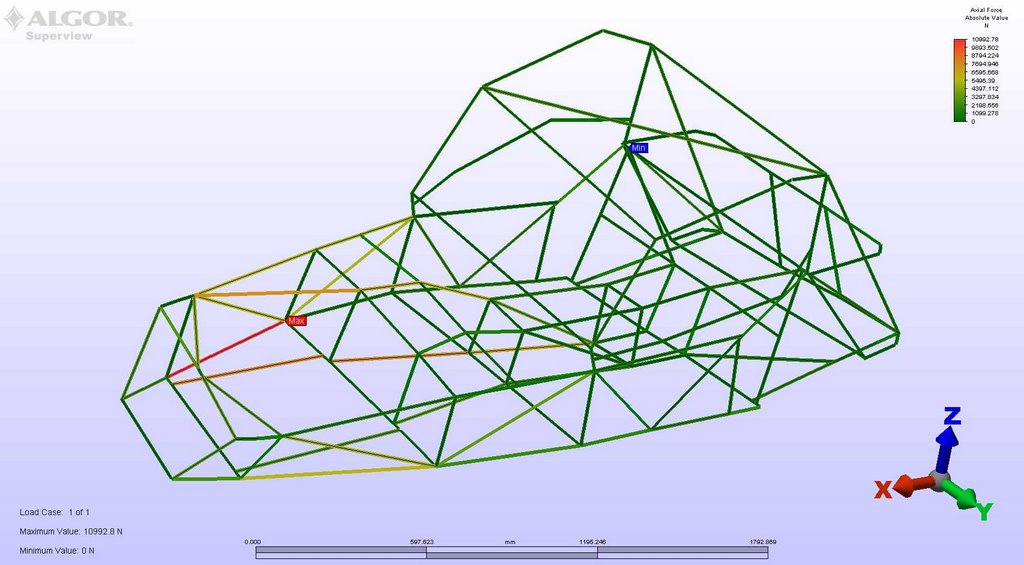
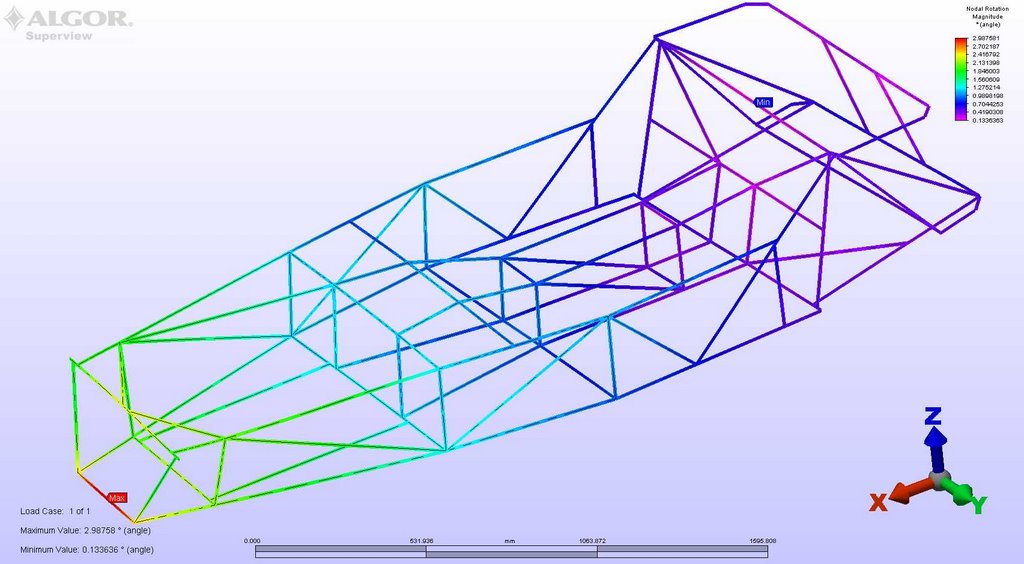
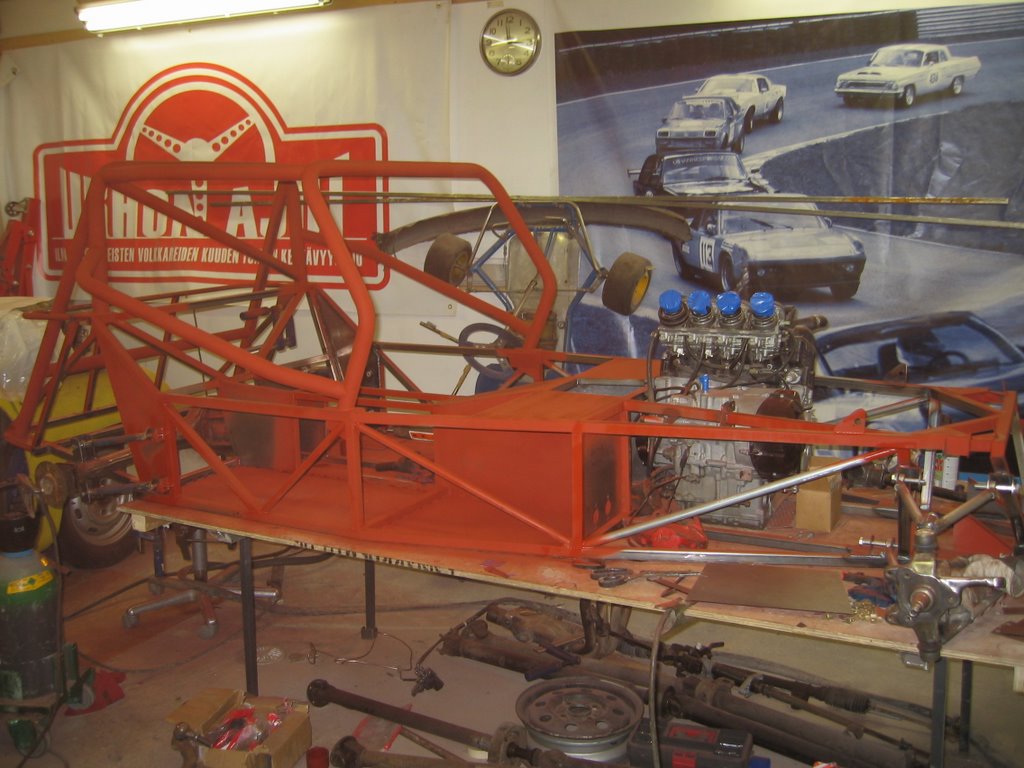
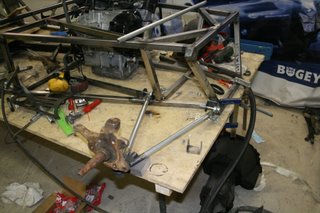
The picture shows the most stressed tubes in the frame when it is being twisted. This picture isn't related to material thicknesses used in the model, it just shows how much force goes through each tube. As you can see the colors in the roll cage are nice and even, so not that much going on there.

The tubes that have to work the hardest are the R tube and the tubes around it on the right side of the engine bay. The triangulated structure seems to take quite a bit load off the left side. If only we would be allowed to have two R tubes. The loads in the prop shaft tunnel tubes should be sorted out once we get the panels added.

FEA, frame with roll cage

Modeling continues

Now the frame twists 1,7 degrees with the same forces as in the previous picture. There is 70% more stiffness compared to without the roll cage. The diagonal in the roof contributes to 30% of the addition in stiffness. The color in the nose says that it twists much more evenly than before, and the roll cage distributes load even to the trunk area.

There's still a little more tweaking with the frame to get the forces to load more evenly. I also figured out how to add the panels, as I thought the mistake I made was very small...

Tuesday, February 6, 2007

3d model is ready for FEA

The wireframe feels ready. I already got to twist a simplified version in a FEA program.


The frame is supported from the upper rear damper mounting points, and it is twisted from the upper front damper mounting points.

I got a stiffness of 936Nm/deg, when Ron Champion says the ready frame should be 1630-2030Nm/deg. At this point adding panels seems a bit difficult, but hopefully it will get sorted quite easily.

Monday, February 5, 2007

First car painted

The team's official photographer got himself so expensive equipment that he can't empty the camera, so I'll have to post some pictures taken with my own :-)


Henrik's car will be baby blue with carbon fenders.


The dashboard is still a work in progress, and the nosecone has a small fault on the other side. Might be that we will have to make a small bulge to the nose cone to fit the radiator. There is two manufacturers for these Renault Clio radiators, and seems like we bought the slightly bigger one.


Moottoritilan peltien sapluunat pitäis kans tehdä piakkoin.


The aluminium for the trunk was made from 1,5mm aluminium, and it required quite a bit of persuasion to get it into form.


Hopefully Henrik will post more pictures very soon!

-Mika

Sunday, January 28, 2007

Preparing the car for paint

Some pictures from the "better" camera

Thinking about how to mount the engine.

But I guess we forgot about serviceability. This bolt was mounted the wrong way when we welded the mounting points for the engine.

From the picture you can see the engine mounts. We tried to make them as light and stiff as possible.

The frame painted black, side panels added and we're preparing the car for paint.

Sunday, January 14, 2007

Henrik's car ready to be painted

We decided to first make Henrik's car finished, and then continue with Mika's car. When making parts, most of them will be made double, so we don't have to start making them twice. Currently we're working on the reverse and the propshaft.


We got the basecoat on Henrik's frame, and it will be painted black next week.

Monday, January 1, 2007

First update of the year

According to the timetable, the car should be on it's wheels. We're a bit behind, but nothing dramatic.


Rear suspension.


Welding the brackets to the rear axle.


Picture of the frame.


Henrik's car has a floor. We should get the prop shaft tunnel done today, and then we will paint the car as soon as the weather goes below 0°C.

Friday, December 29, 2006

First dry test, picture of the frame, rear suspension points welded in

Finally got a steering wheel borrowed, so it was time to take my first test of the car.

Tight left, watch out for the welder...

In addition to the brake rule, we don't either like the rule about Traction Control...

Haven't taken pictures of the frame in a long time, here's the current situation.

Mika explaining something to my dad. Probably about where the forces go in the suspension.

Also the rear suspension brackets are installed.

Monday, December 18, 2006

A couple more pictures


The new upper front a-arm.


A closer shot of the TIG weld, looks nice.


The mount for the lower rear suspension point. More close shots of the welds.


A better picture of the brakes, this time inside a 17" wheel. Cayenne rear caliper to the right :)

Sunday, December 17, 2006

Front suspension, suspension jig, glassfibre parts

A picture of the lower front wishbone.

We will have 60mm wider a-arms compared to PMC:s jigtable that we borrowed, so sadly it was of no use for us (they didn't really believe we had this much wider suspension). We still had to make it a bit of a compromise because we weren't sure which brake parts and wheels we would use. With the Taunus stock calipers we could have still gone ~35mm wider. Our racing rules state that the suspension has to be under 1660mm wide, so we would like to make use of all the space allowed.

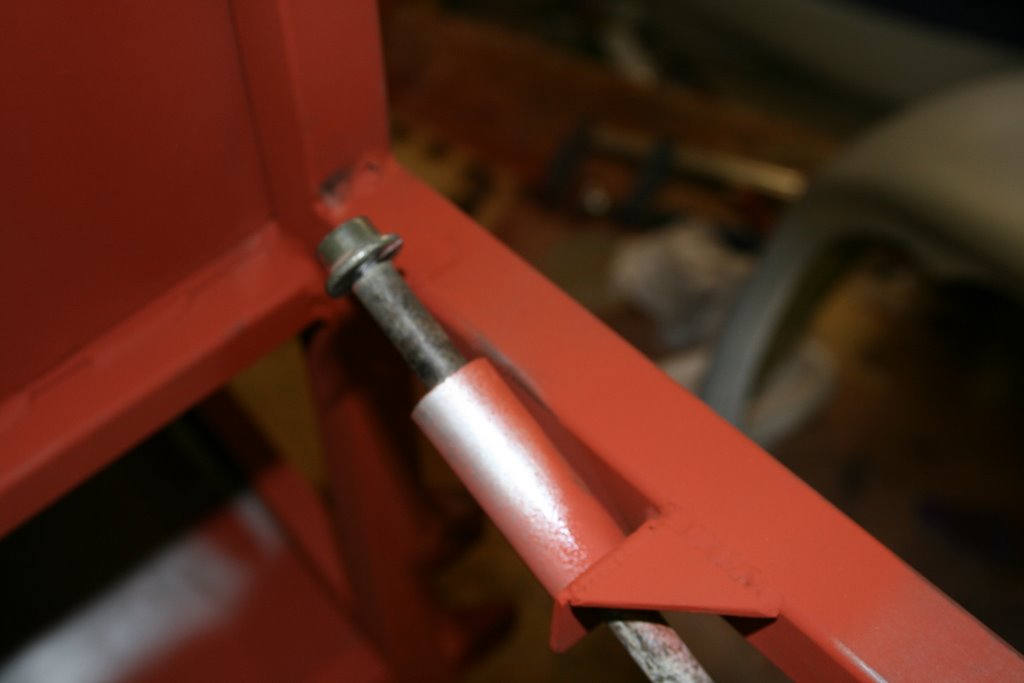
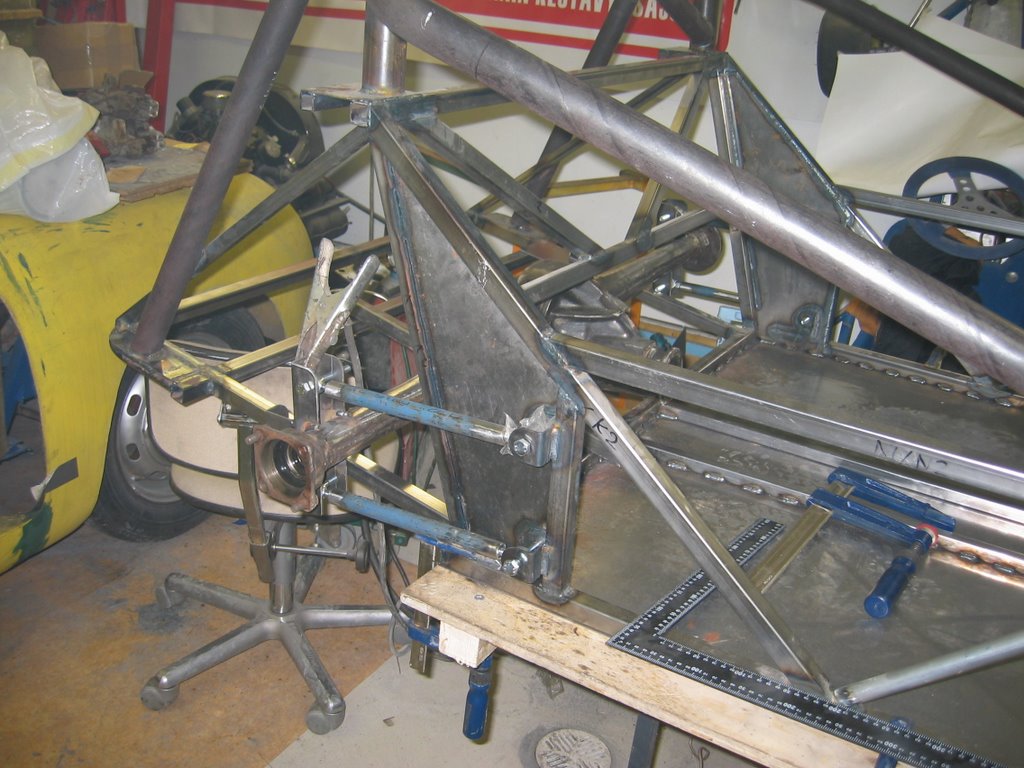
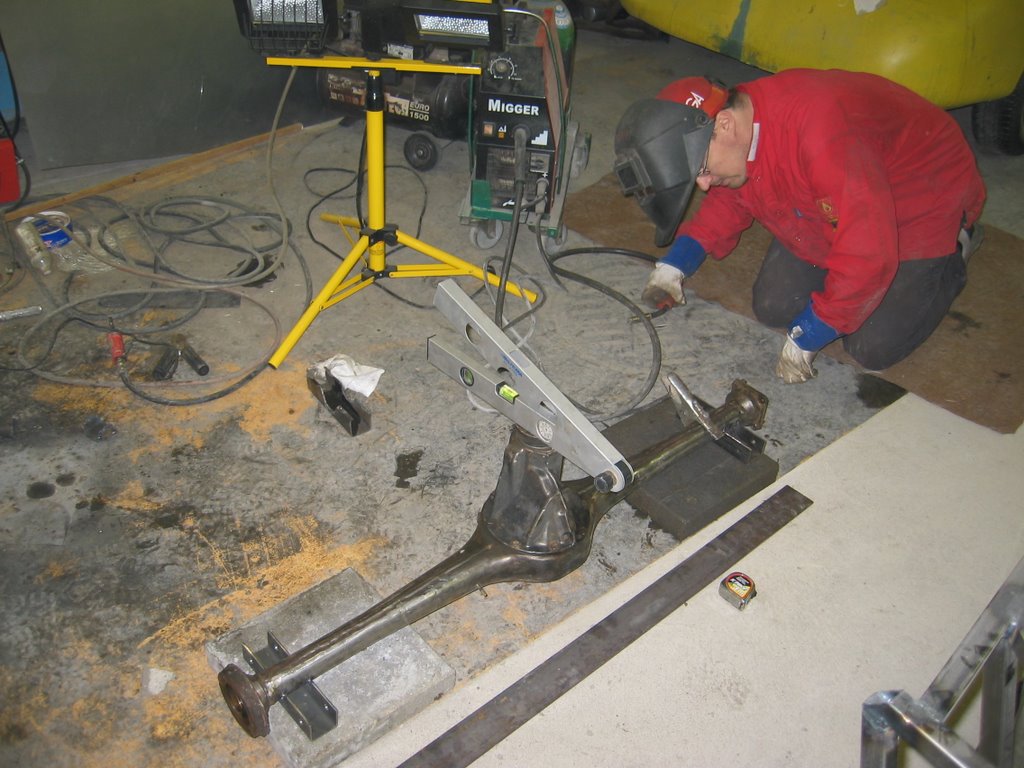
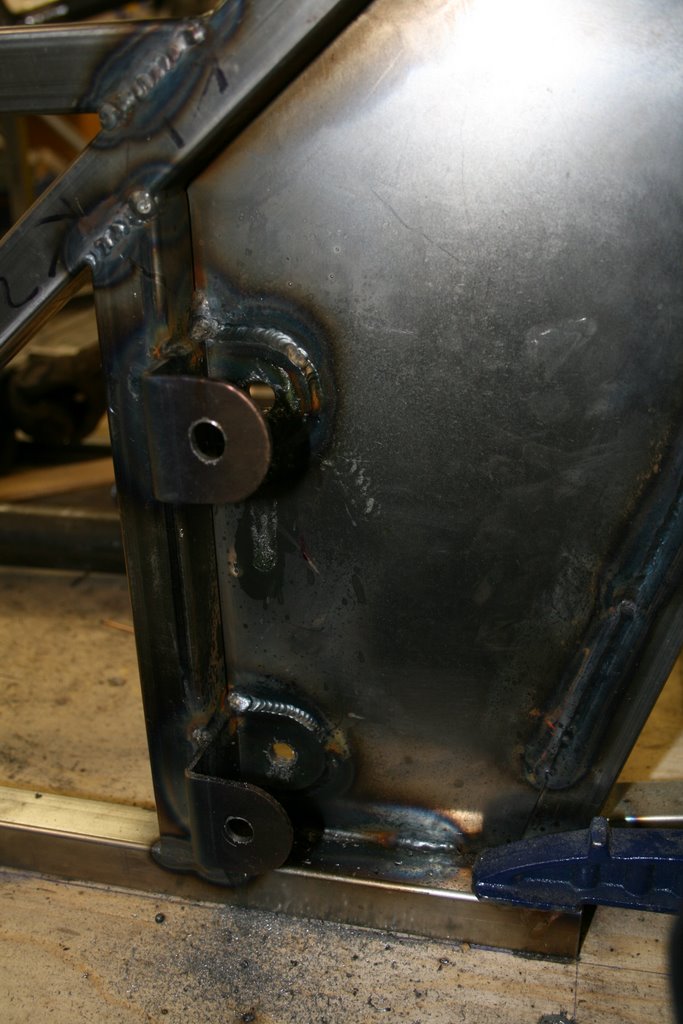
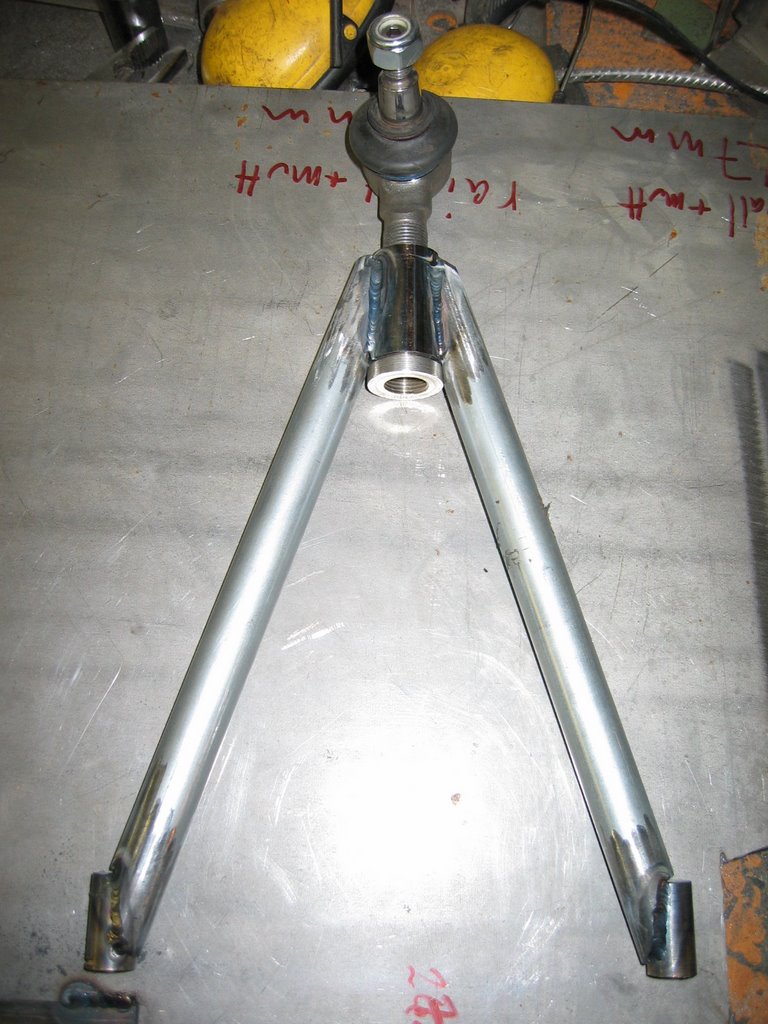
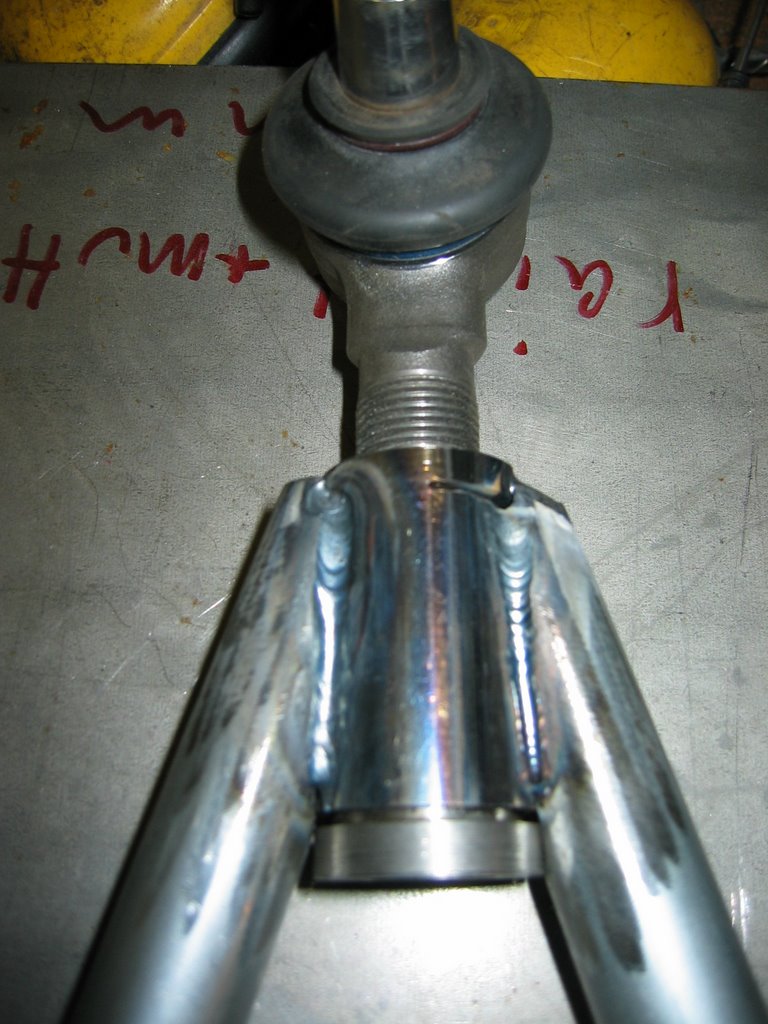
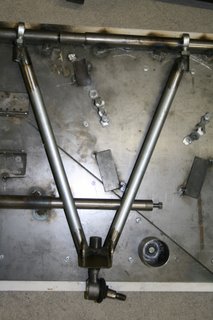
A picture of our jigtable, it is for both front a-arms.

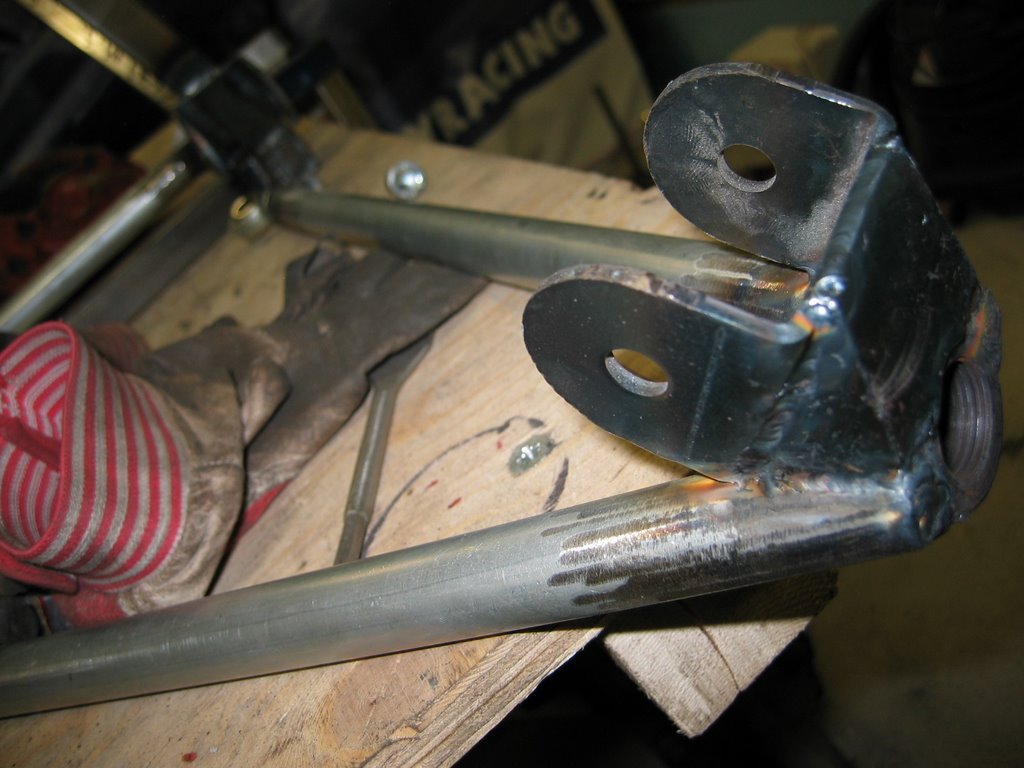
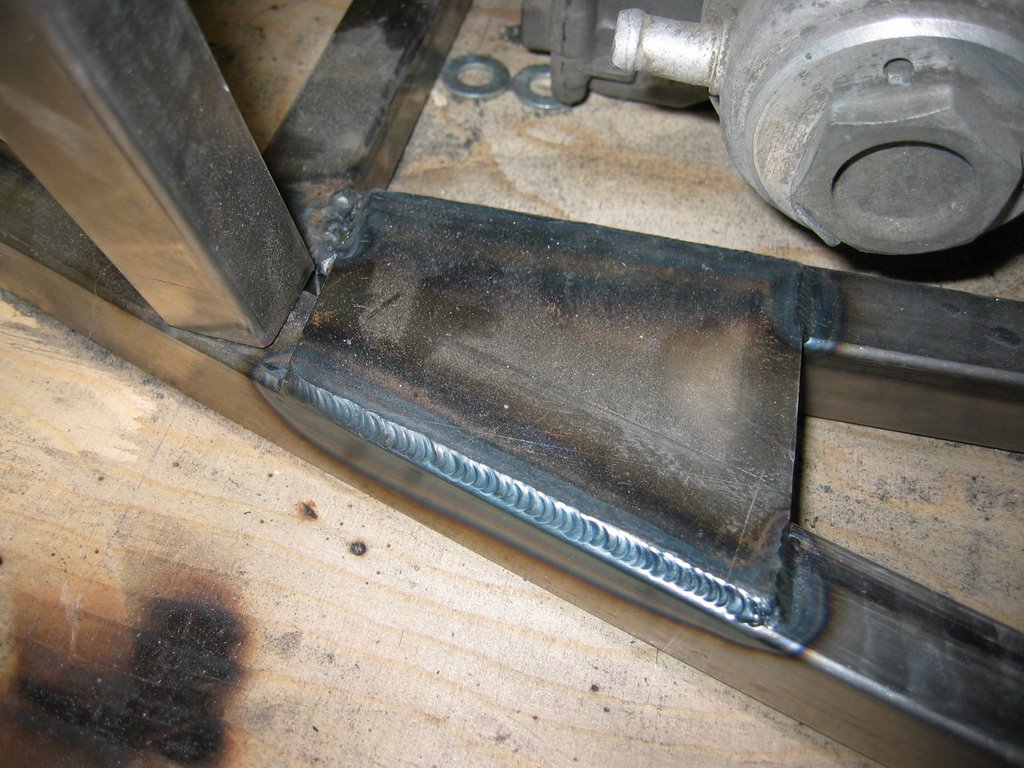
We got the upper front a-arms sorted out too, they just need to be welded together. So the front end is looking quite good at the moment, all it need is to be welded together.

We also tested brake options, seems like we can never get the brakes to fit into 13" wheels, so I guess we'll have to step up to 15...


No way. The brake disc is as big as the 13" wheel. Brake disc is from a GT3 Porsche and the caliper is from a Cayenne.


Picture from the composite department. +the lada rear axle.

And some results. One nosecone for each car, plus one as a spare when something happens.

The mold for the seat, borrowed from our school's formula student.

Sunday, December 10, 2006

3d modeling started


Got finally started with 3D-modeling of the car, but there's still a long way to go to get something out of it. At least you can fit a "man" into the frame. The biggest benefit of this will be that we can get accurate measurements for jigs that we will use when making the car. We had some problems with the tubes having the wrong measurements in the McSorley cutting list, so atleast we'll have someone in our team to blame next time when we start to make the frame.

We also got the lower front a-arms done and the engine mounts are now in place. The car looks quite wild with a engine... Pic's will come as soon as I get the camera emptied.

Sunday, December 3, 2006

Composite work, got a rear axle and prop shafts

Both frames are ready minus the propshaft tunnel and suspension mounting points. We've got a Lada rear axle and prop shafts from a BMW, Ford and Volvo. We'll start getting drive train sorted out this week.
We got the molds for the composite parts and at the moment we have a nosecone and one set of fenders ready. At the moment we're making the carbon fenders and a spare nosecone. We're also making the seat.
The engines have been bought through German ebay, and they should be here next week.


A closeup picture of the carbon fender, looks nice :)


We will start making the front suspension parts today, and the car should be on rolling before the end of the year.